

In the previous posts, we have seen how to build audio data that can be used by the ADX2 plug-in for Unity and how to import it into our game project. It is now time to play it!
Creating a sound source object
To play a sound, we need to add a sound source to our scene, or, more specifically, a CRI Atom Source object. Indeed, all sound playback preformed with ADX2 for Unity is done through CRI Atom Sources. It is possible to create one as a new game object or to attach one to an existing game object as a component.
For example, let’s create a new game object that will play a sound. First, make sure that no object is currently selected in the Hierarchy and bring up the Atom window (quick reminder, you can display it with the “Window->CRIWARE->Open CRI Atom Window” command). The Atom window is very convenient as a central place to check the data and create new objects. Now, select a CueSheet from your ADX2 project. The list of the Cues contained in that CueSheet is displayed. Click on the Cue you want to play and then click on the “Create Game Object” button. In this example, we chose the Cue “GameOver“ from the CueSheet “PinballMain“.
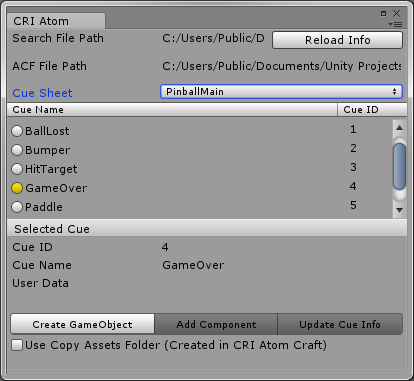
A CRI Atom Source is added to the scene and it is also displayed in the Hierarchy. If you click on it, the details of the CRI Atom Source will be displayed in the Inspector.
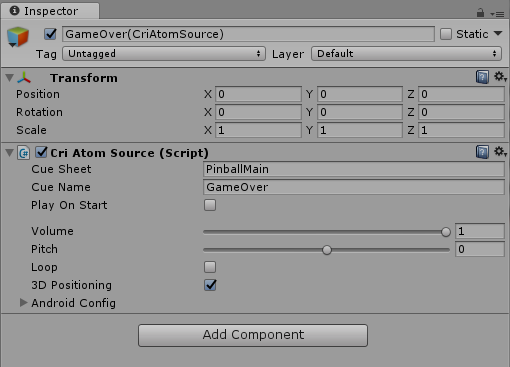
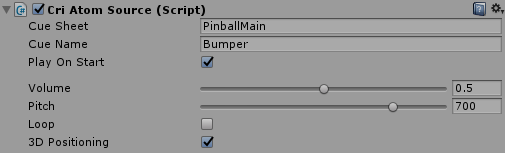
You can adjust the volume and the pitch at which the sound will be played and specify if it is a looping sound and if it will be affected by 3D positioning. You can also make it play as soon as the scene is loaded by checking the “Play On Start” box. Let’s do it now.
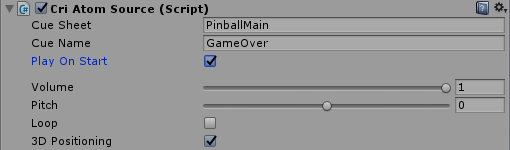
Now you can start the game, and the sound effect will be immediately played (which is probably not something we want with that particular sound effect!)
Using a sound source component
As mentioned above, you can also attach a CRI Atom Source to an existing game object. In that case, first select the object in the Hierarchy.
Then, in the Atom window, select the Cue you want this object to play. For example, let’s select the Bumper Cue of the same CueSheet (PinballMain).
Now, instead of creating a new game object, click on the “Add Component” button. The sound source is added to the object selected in the Hierarchy. The CRI Atom Source appears in the Inspector as a component of this object. For example, here we attached the sound source to a simple cube.
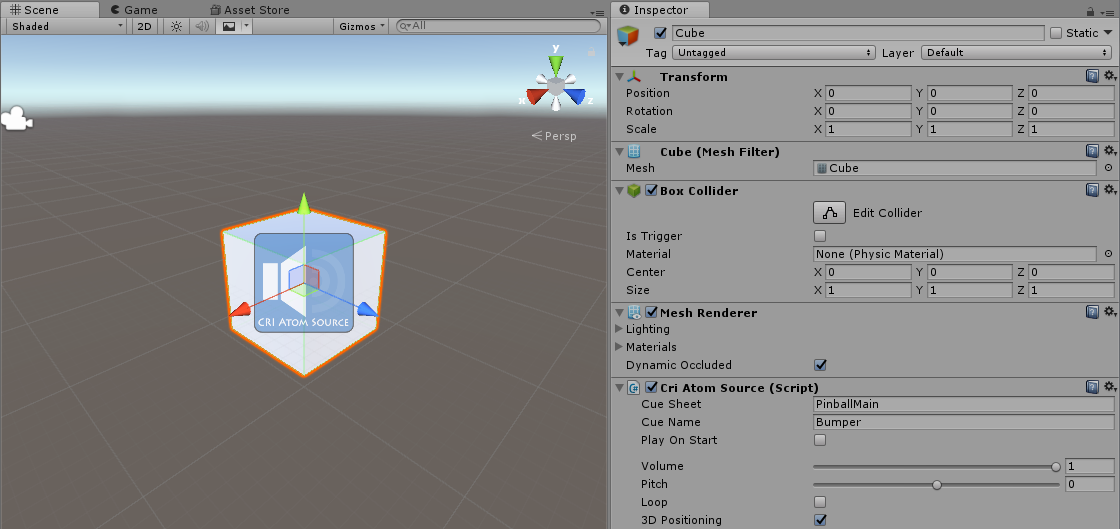
If you select the “Play On Start” option in the settings and run the game, the Bumper sound will be played as well.
Adjusting sound parameters
Independently of the method you use, you can change the volume and the pitch settings of the CRI Atom Source and run the game again to listen to the difference.
The volume is expressed linearly between 0 (silence) and 1 (full volume). The pitch is expressed in cents, from -1200 to 1200 and actually represent a detune value (i.e. a relative adjustment of pitch). Since an octave corresponds to 1200 cents, this means that the sound can be played from an octave lower to an octave higher.
In the example below, we play the sound at half the volume and one fifth (the musical interval) higher.
This concludes our post. We hope you enjoyed playing your first sounds in Unity with the ADX2 plug-in. Join us for more sonic adventures in the next post!